Installing an SSL certificate on your website using the Plesk control panel:-
1 First you need to generate CSR (Certificate Signing Request) by referring below document.
How to generate CSR file in Plesk
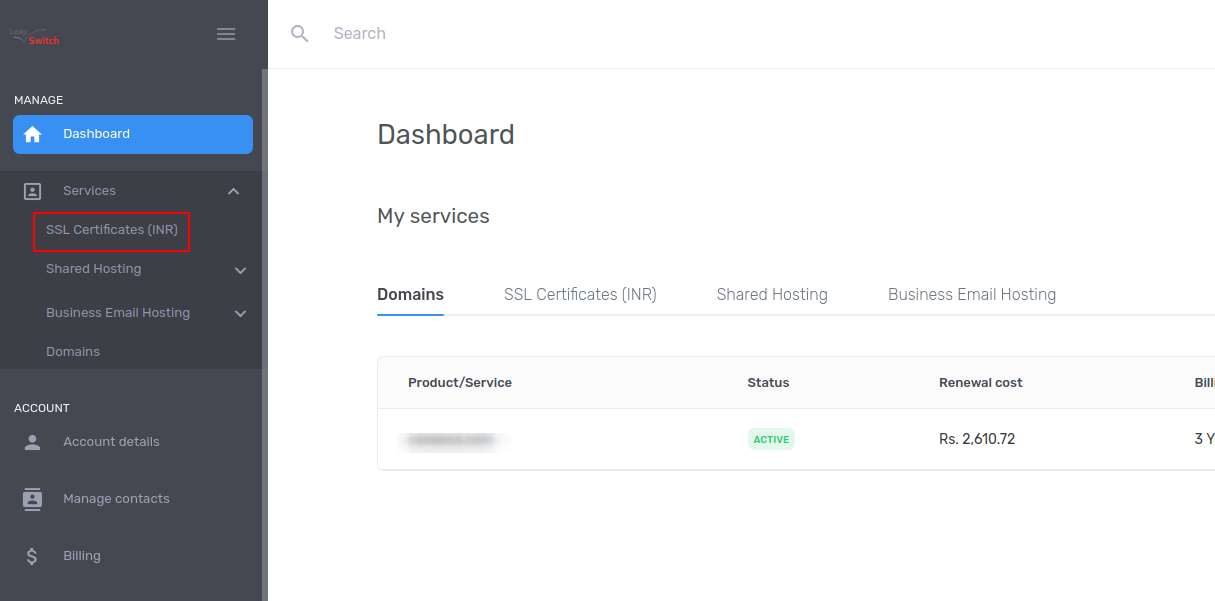
2. Login to the client area and open the services option in click on the SSL certificate
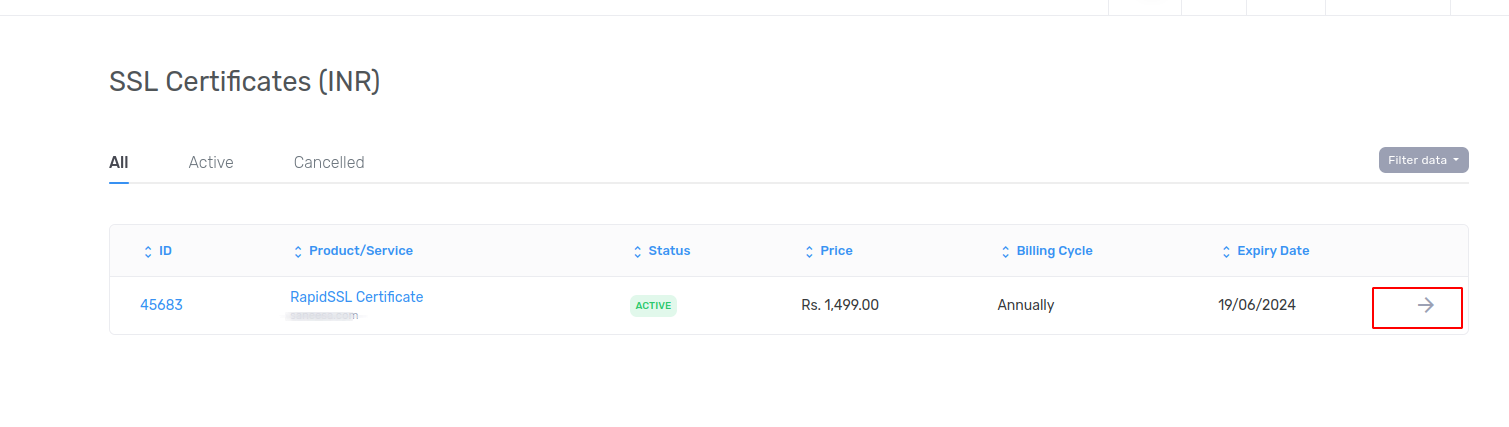
3. Display the below page and click on arrow ->
4. Click on the option certificate setup and paste the CSR certificate in the below block select the server software as Microsoft IIS 7 then click on the submit button.


11. Your SSL apply successfully.
How to generate CSR file in Plesk
2. Login to the client area and open the services option in click on the SSL certificate
3. Display the below page and click on arrow ->
4. Click on the option certificate setup and paste the CSR certificate in the below block select the server software as Microsoft IIS 7 then click on the submit button.
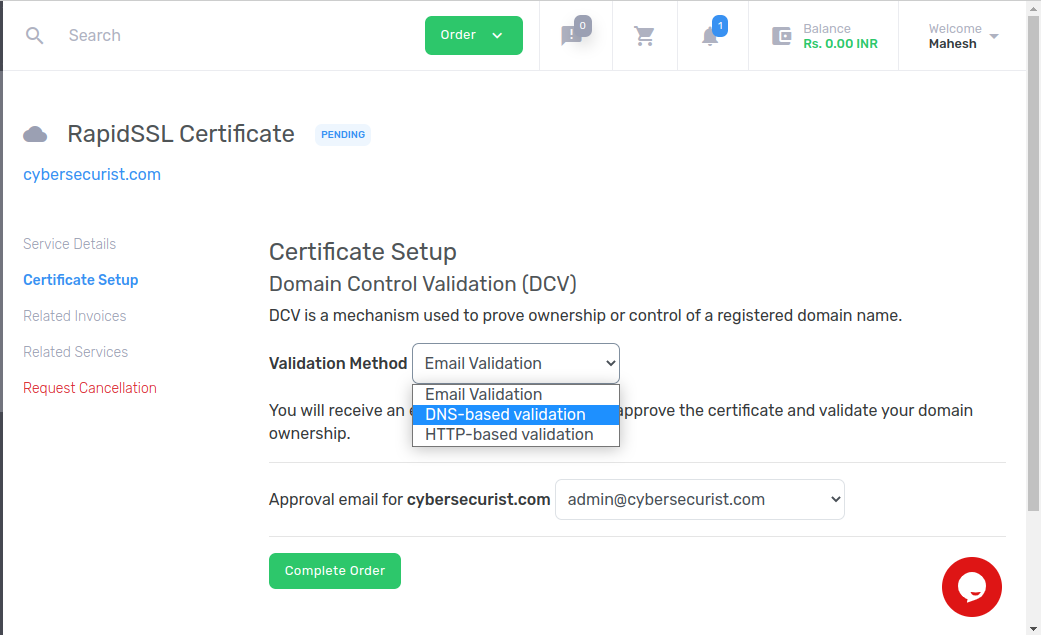
5. After that Select the Domain Control Validation method(DNS, Mail, file base).
* Email Validation : You will recived authentication mail
* DNS- based Validation : They provide txt record, only we need to add txt in dns zone file.
* HTTP-based Validation : File-based Authentication, where you will get code and you have to upload it in the path which is provided by them
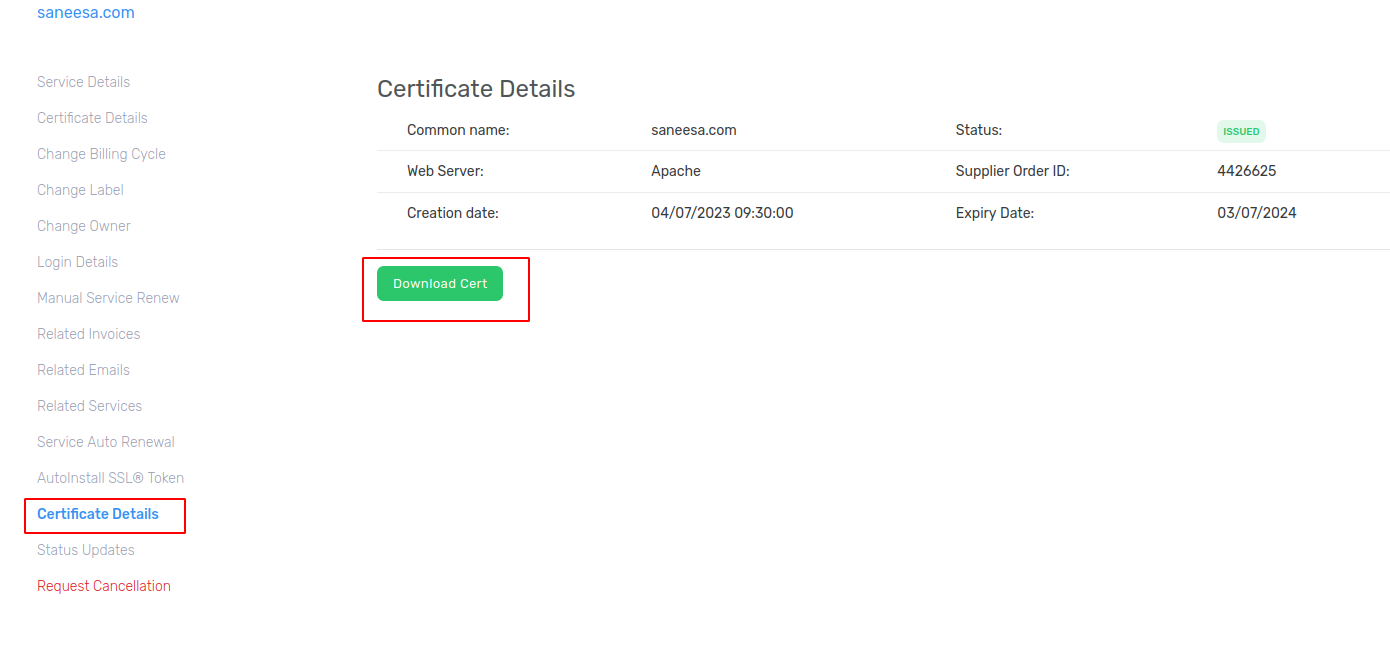
6. After completing above process you have to download certificate here
click on the Certificate details and then click on download cert
7. After downloading certificate, login to Pleask control cpanel >> click on SSL/TLS certificates option>> Then you seen the domain name >> click on the domain


8. After that you can upload crt file or download the SSL certificate and CA bundle past in the blank space
after that click on the Upload certificate.

9. After that SSL certificate uploads successfully. Then under the hosting & DNS option click on the hosting option.

10. In that option make sure to enable the below 2 options and select your certi
ficate name and then click on the save option.7. After downloading certificate, login to Pleask control cpanel >> click on SSL/TLS certificates option>> Then you seen the domain name >> click on the domain
8. After that you can upload crt file or download the SSL certificate and CA bundle past in the blank space
after that click on the Upload certificate.
9. After that SSL certificate uploads successfully. Then under the hosting & DNS option click on the hosting option.
10. In that option make sure to enable the below 2 options and select your certi
11. Your SSL apply successfully.